How to Apply Self Tan for a Flawless, Streak-Free Glo
Zoe KleinHow to Apply Self Tan for a Flawless, Streak-Free Glo
Applying self tan is all about technique. The right products help, but how you apply them is what separates a streaky tan from a smooth, even, long-lasting glo.
At Ohh My Glo, everything is designed by a tanner, for tanners. Here is exactly how to apply your self tan properly using the Ohh My Glo routine so you get flawless results every time.
Step 1: Start With Prepped Skin
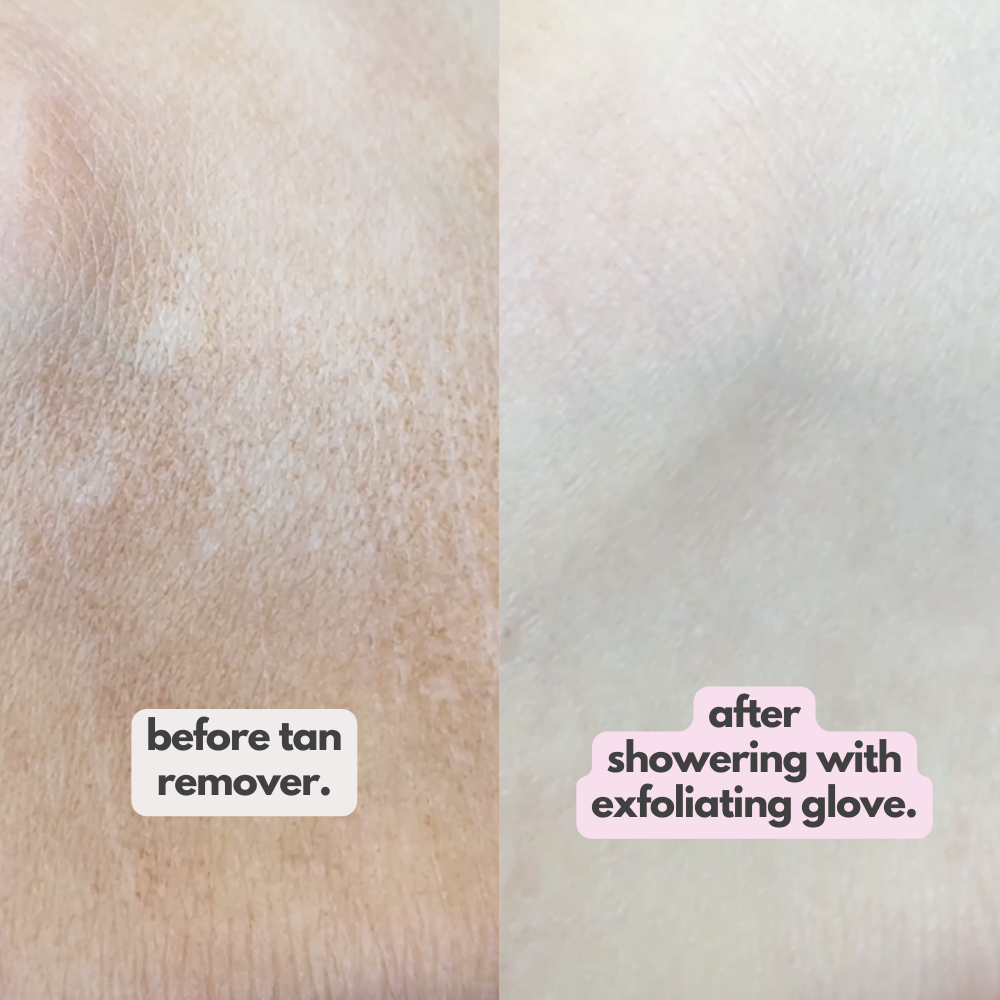
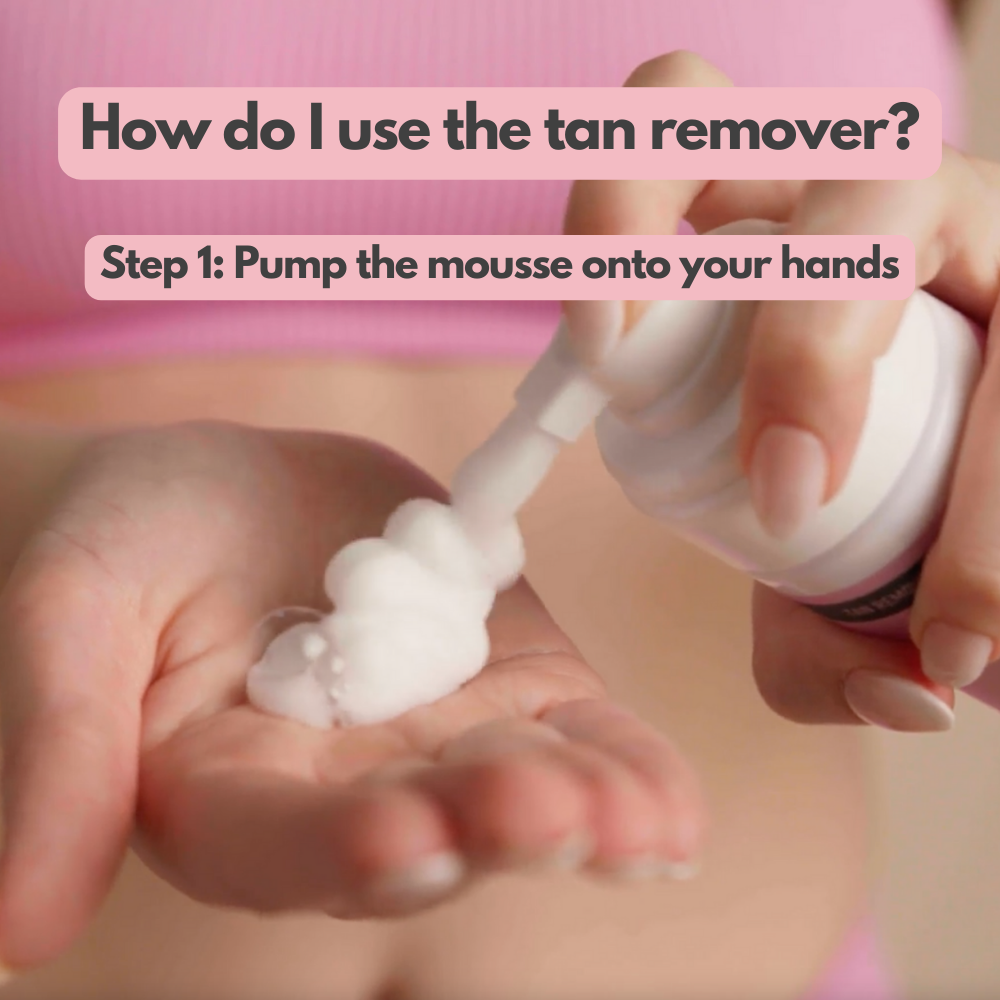
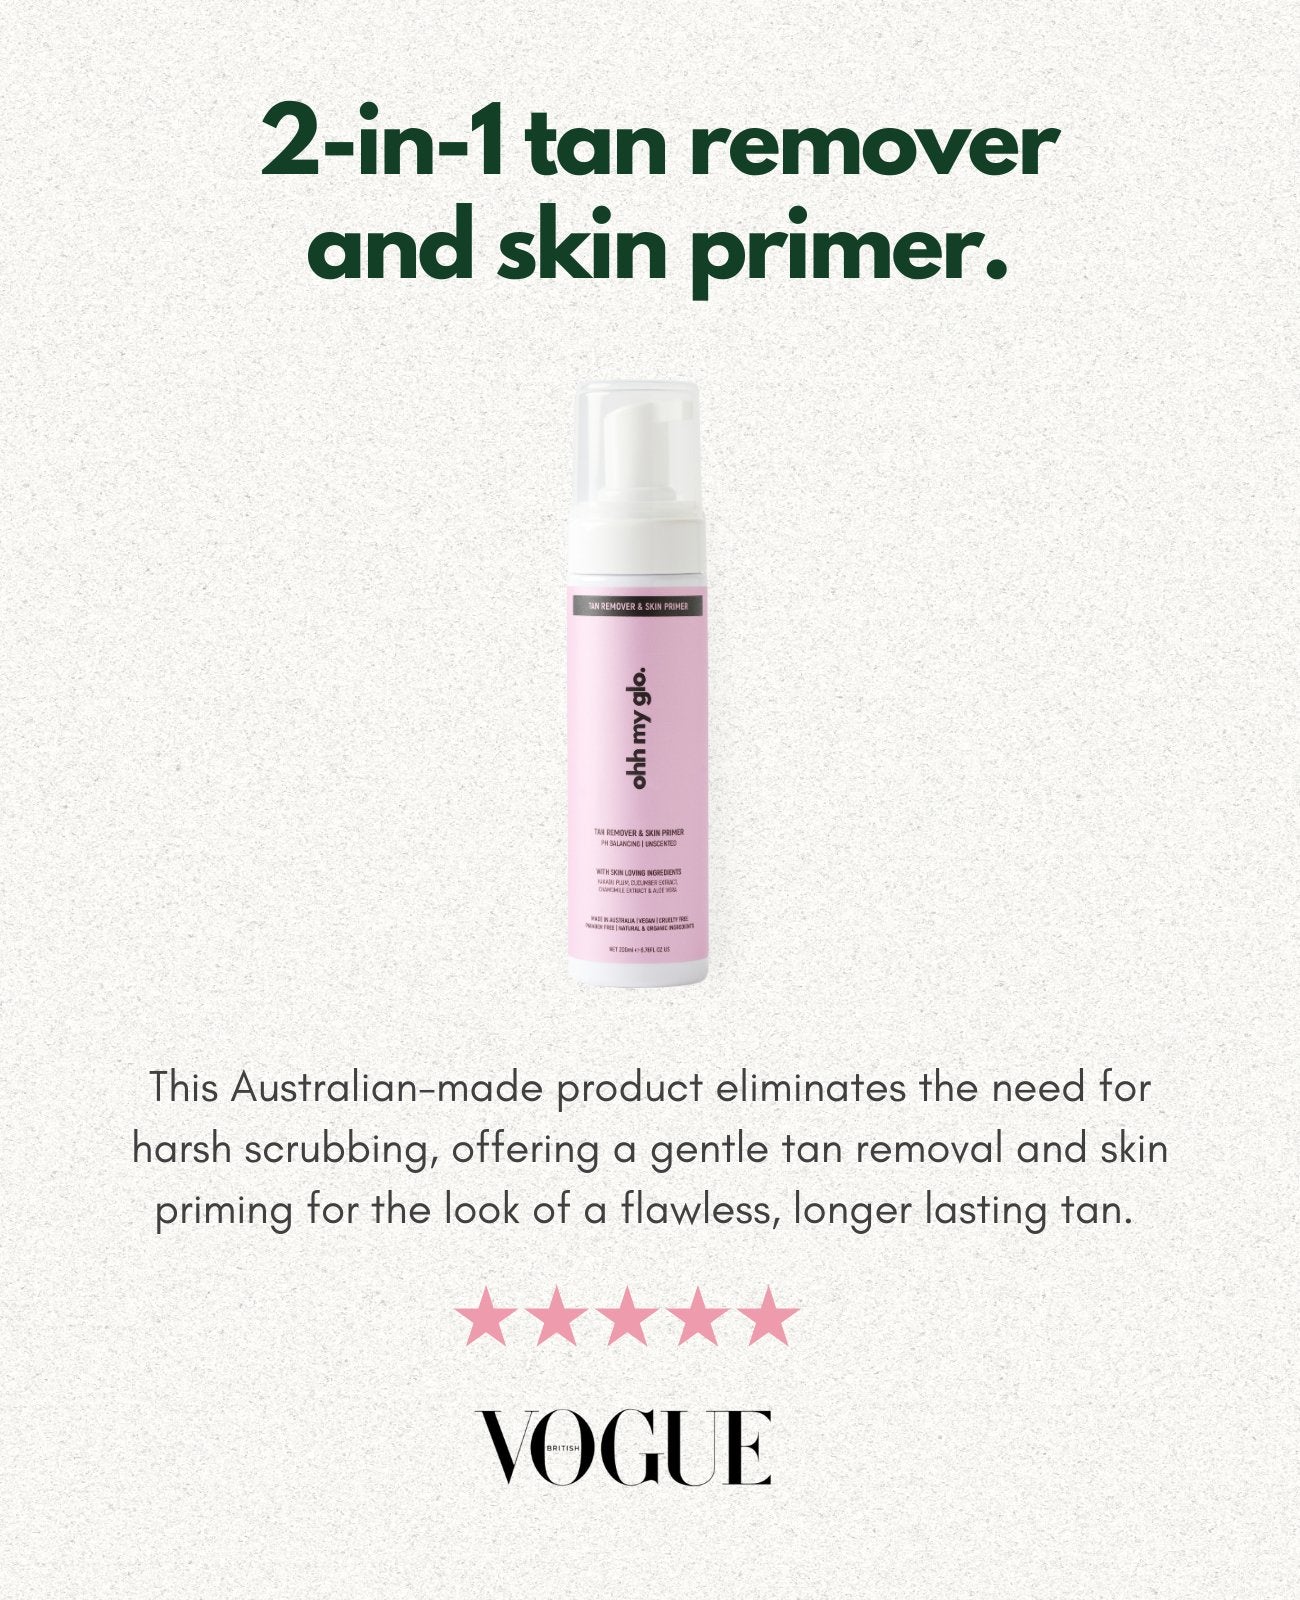
Before you even think about applying tan, your skin needs to be clean, smooth, and free from old colour.
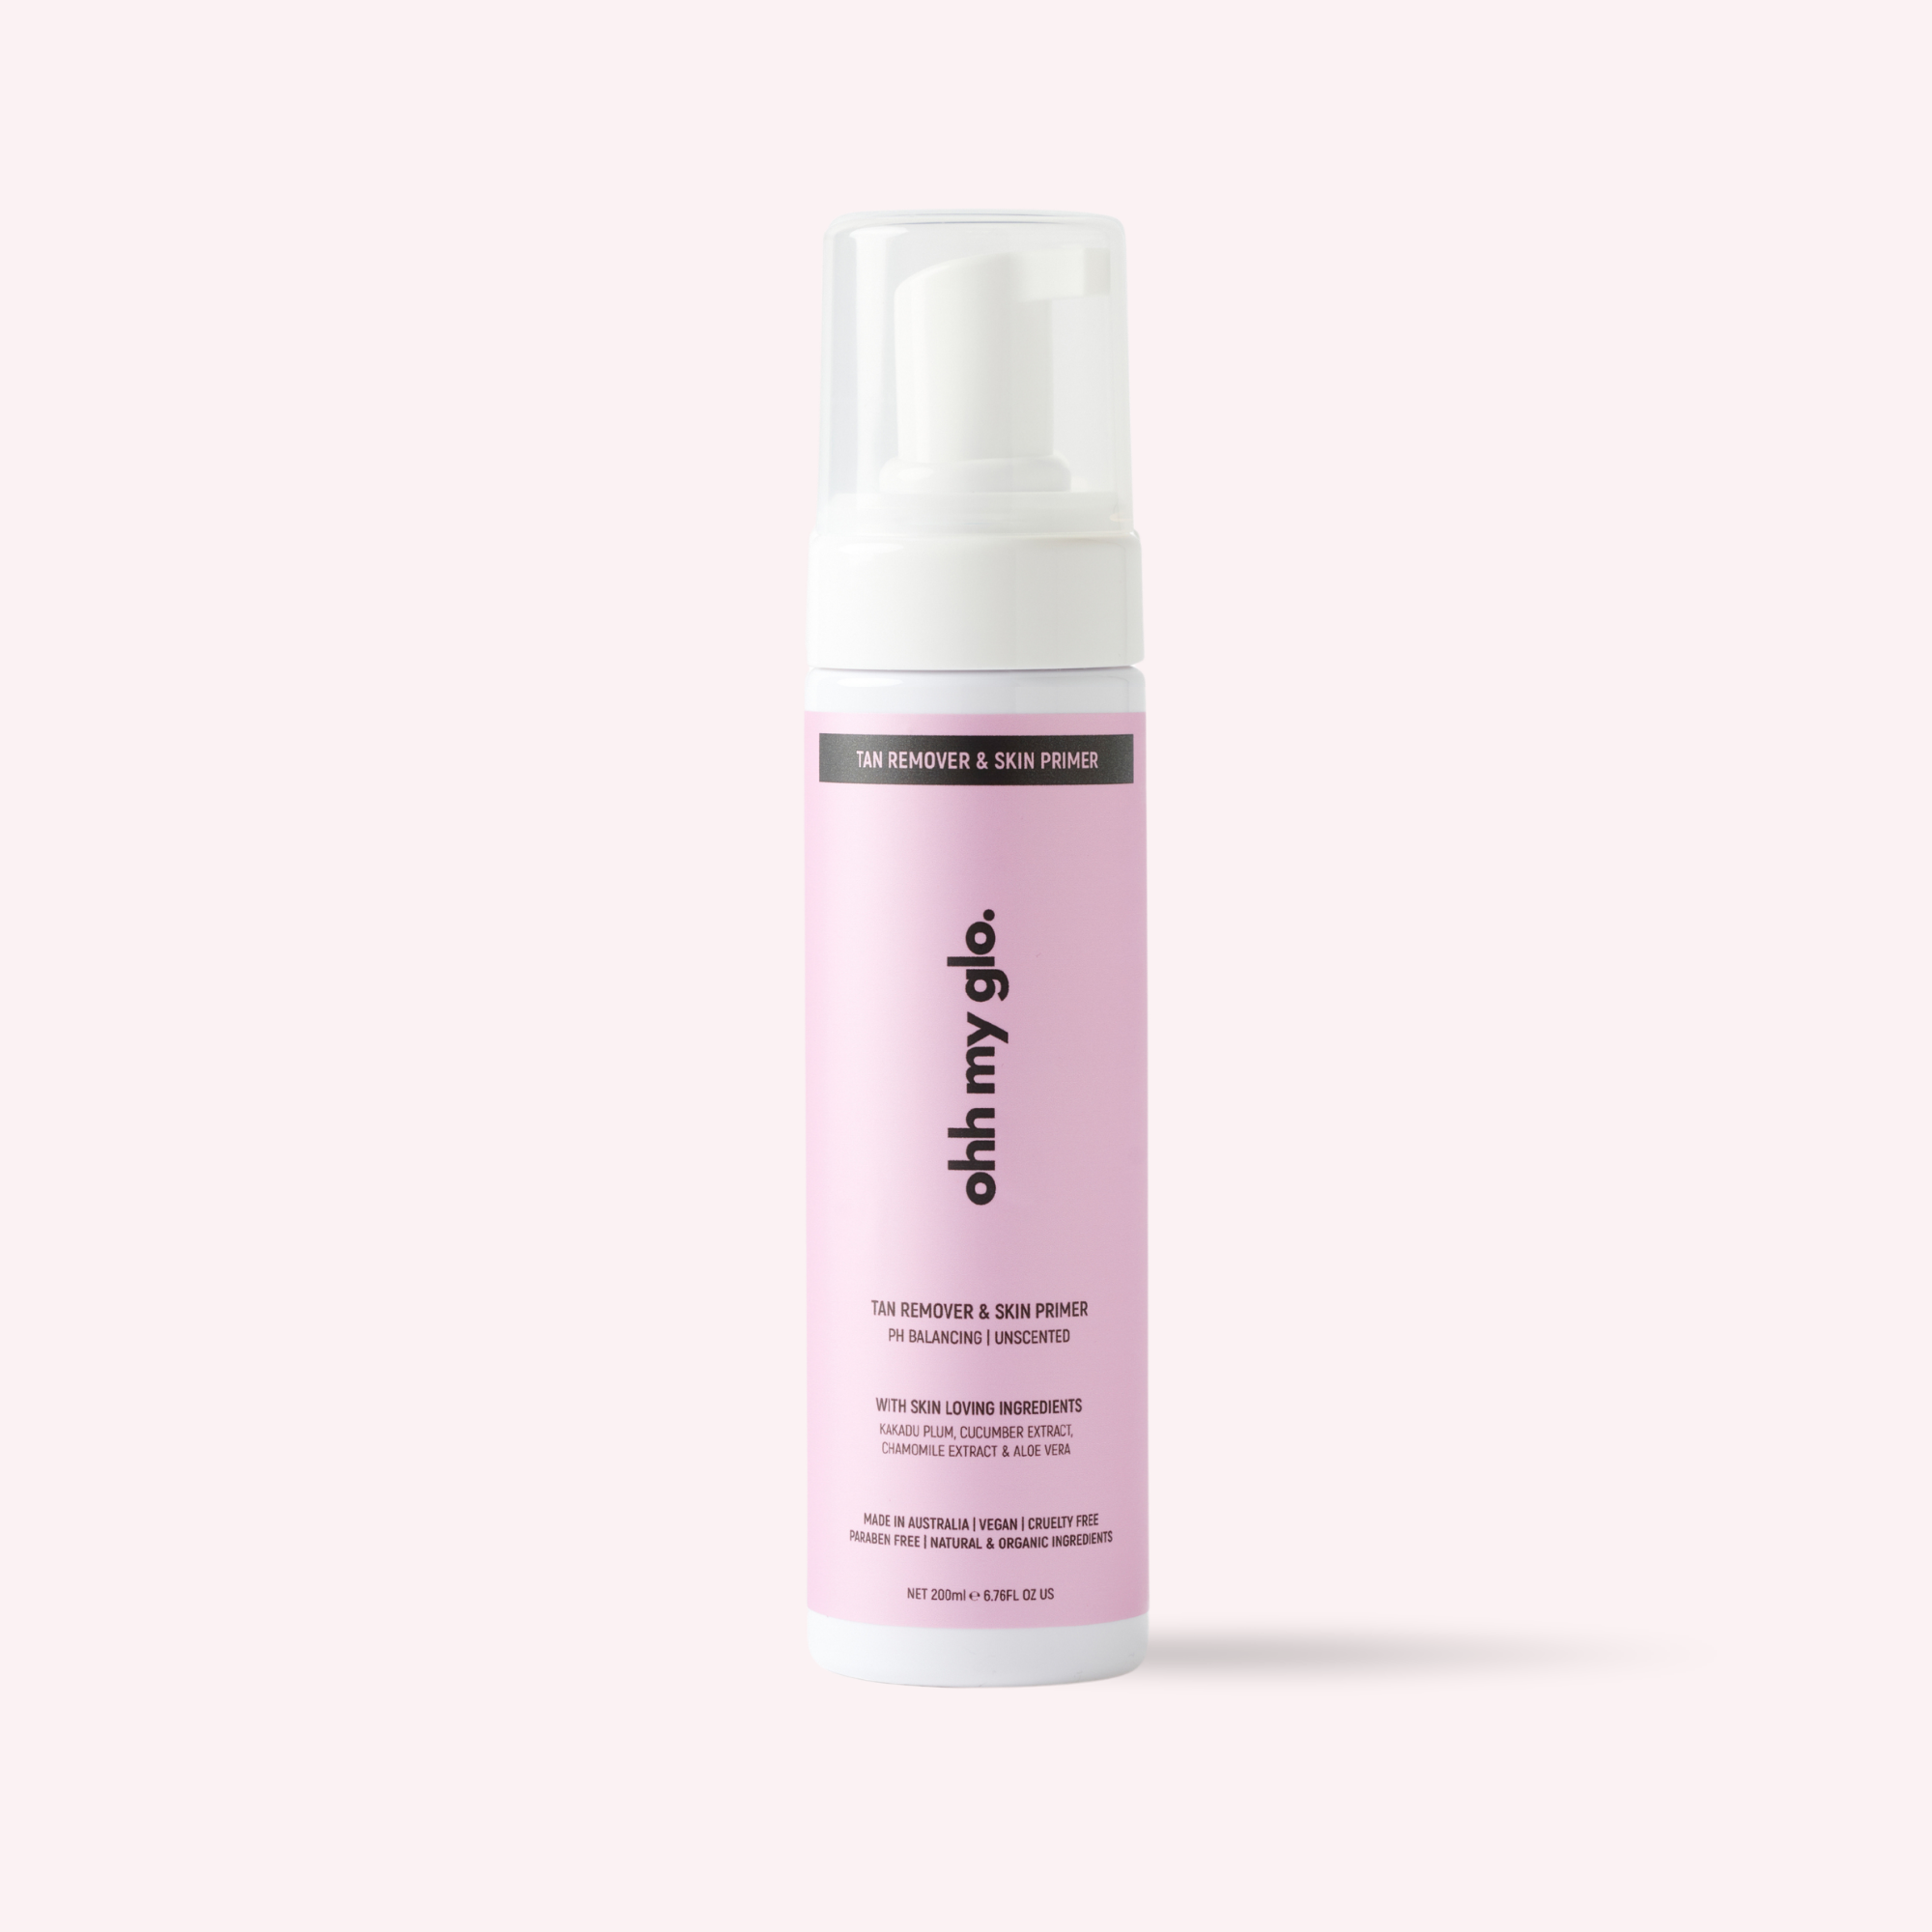
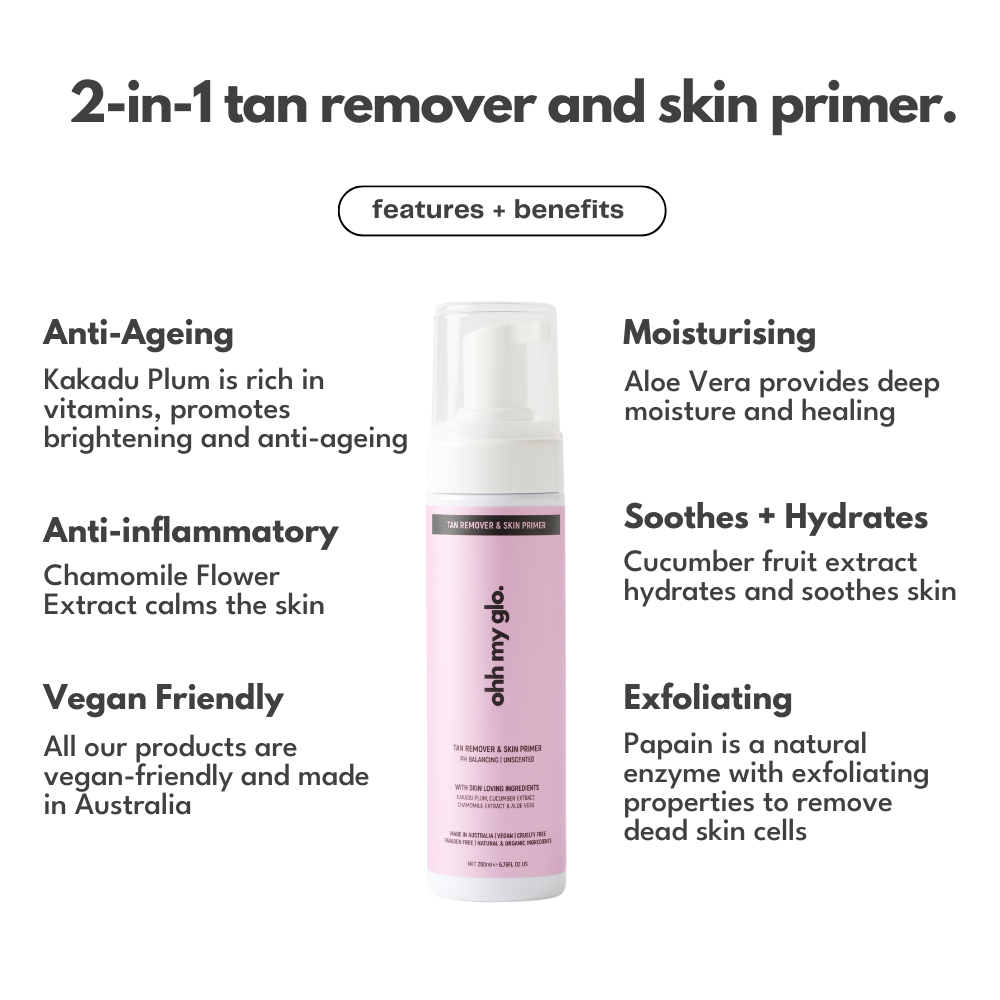
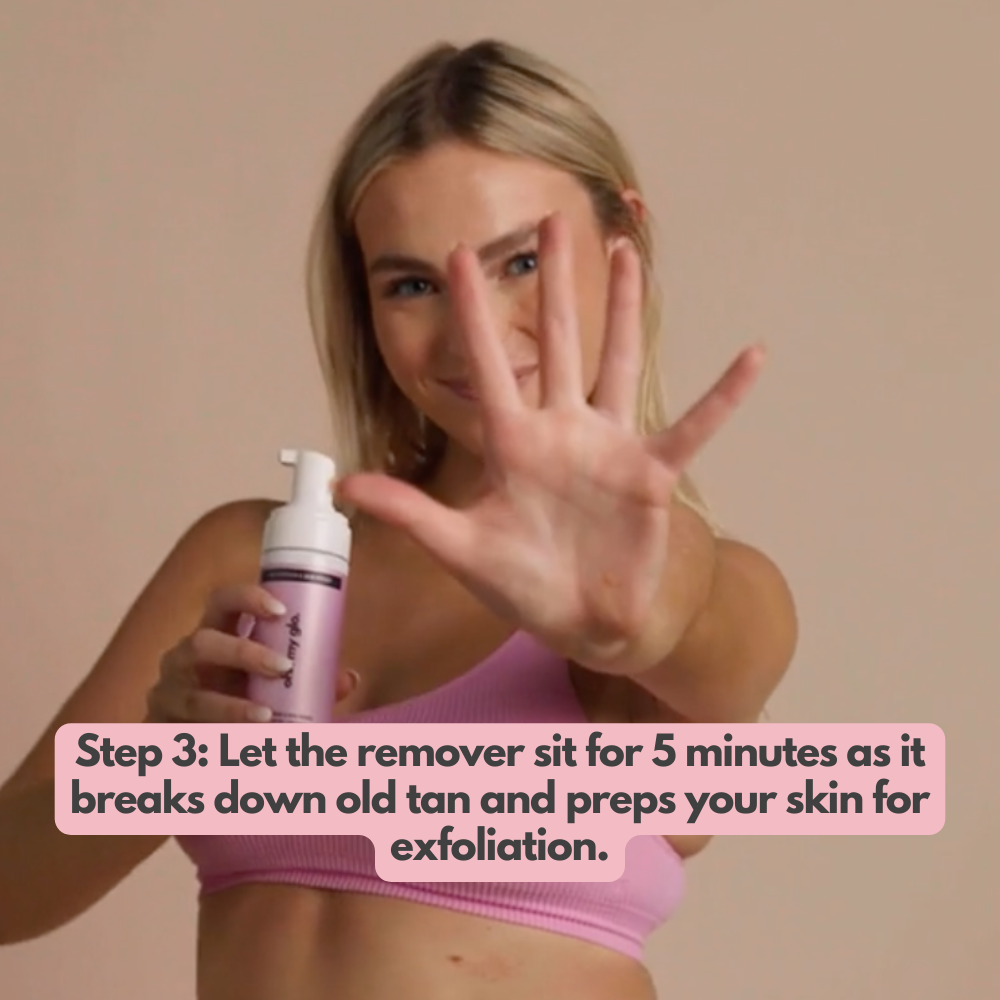
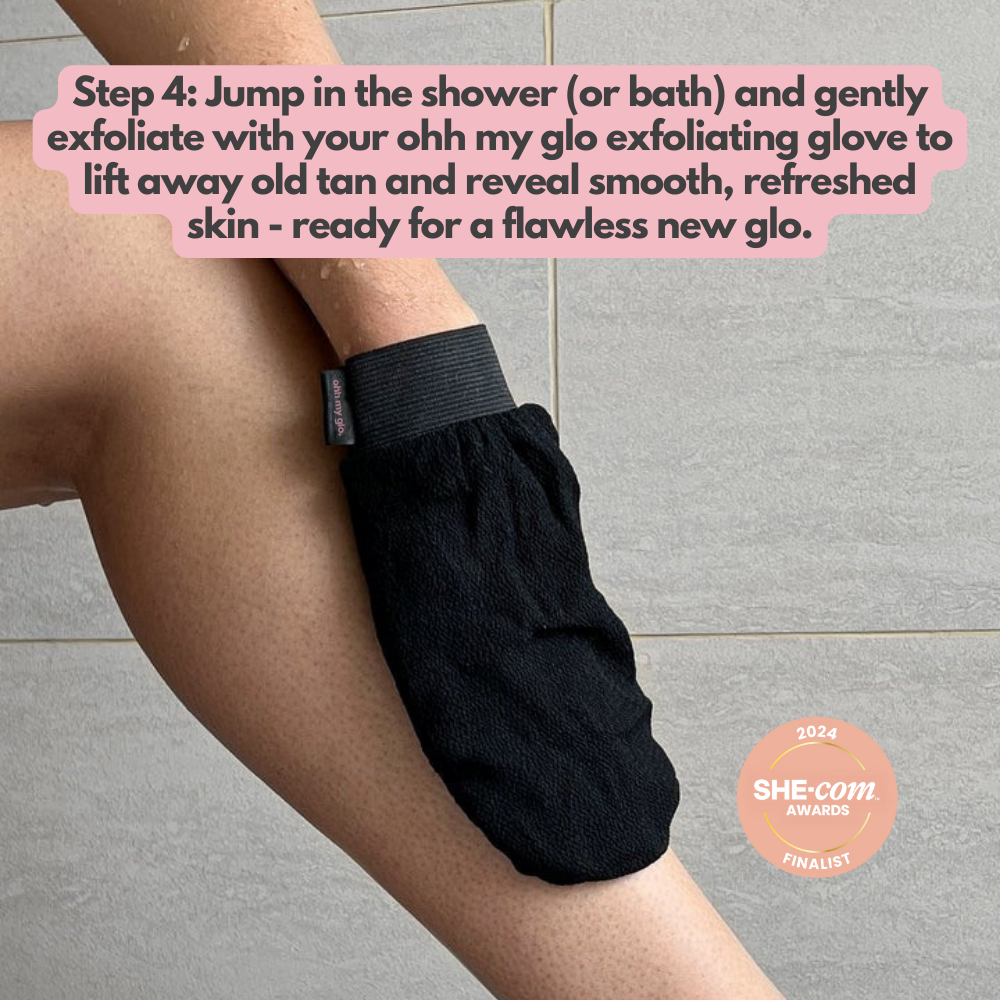
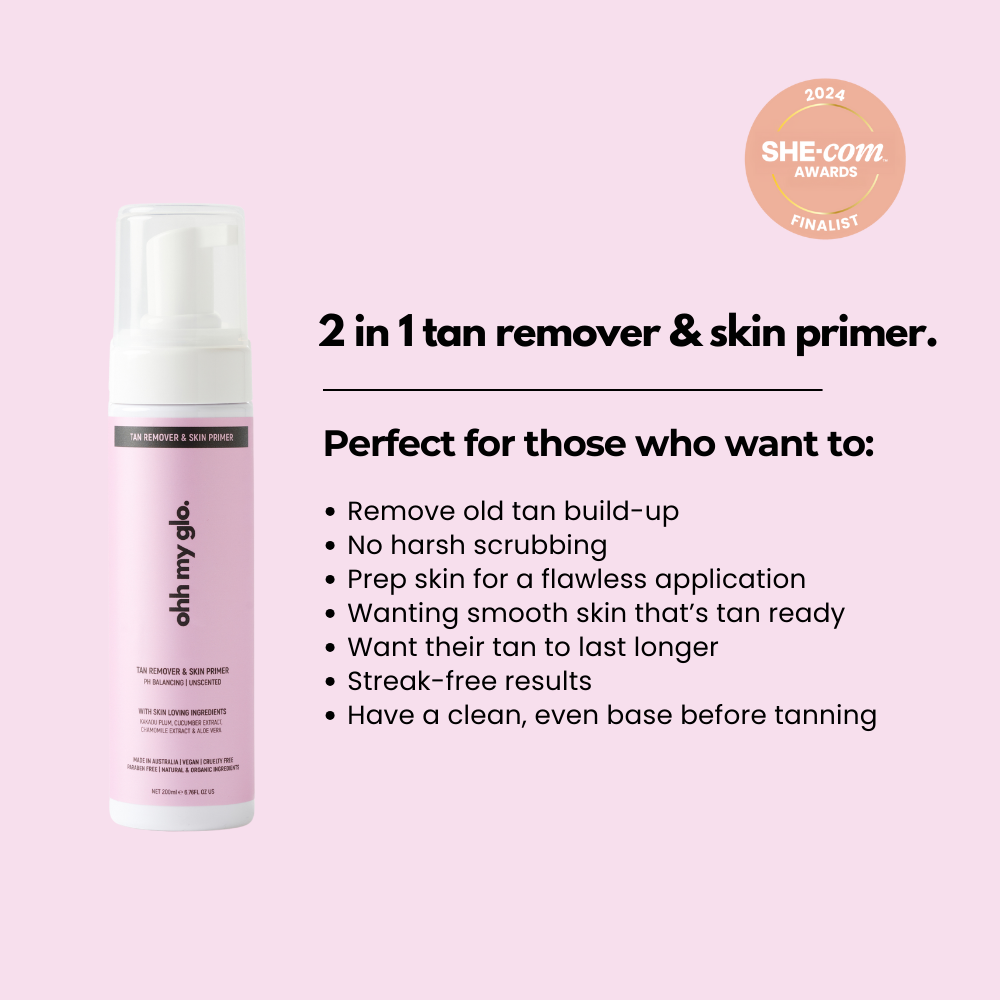
Use the Ohh My Glo Tan Eraser & Skin Primer with the Exfoliating Glove to remove any old tan and dead skin. This creates an even base so your tan applies smoothly and fades beautifully.
Once prepped, make sure your skin is completely dry and free from oils, deodorant, or moisturiser.
A smooth base = a better tan.
Step 2: Choose the Right Shade and Undertone
Not all tans are created equal. Choosing the right shade and undertone for your skin makes a huge difference to the final result.
Whether you prefer a natural glow or an ultra dark finish, your Ohh My Glo Self Tan Mousse is designed to develop evenly without orange tones, patchiness, or that fake tan smell.
If you are unsure which one is right for you, our Find My Tan quiz will guide you to your perfect match.
Step 3: Apply Your Tan Like a Pro
This is where the magic happens.
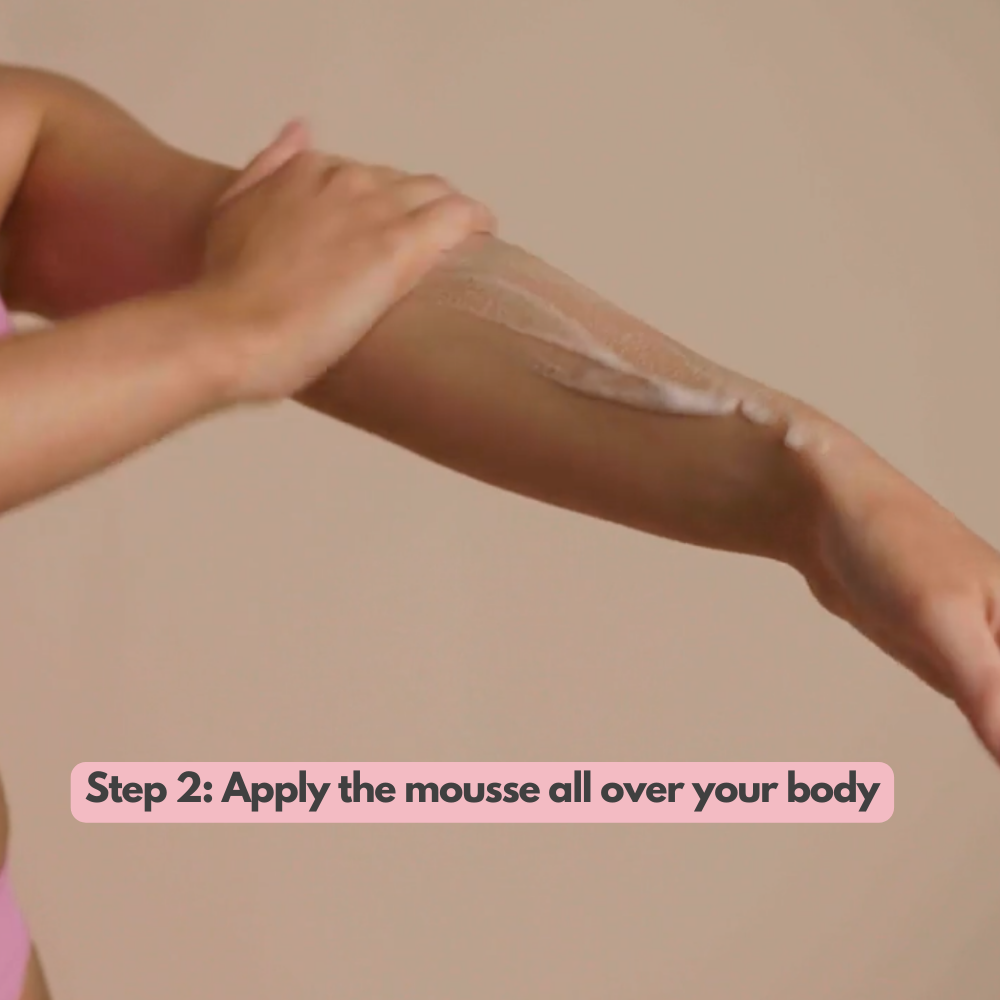
Pump your Ohh My Glo Self Tan Mousse onto the Tanning Mitt and apply using long, sweeping motions. Work one section at a time, starting from your legs and working your way up.
The mitt ensures streak-free coverage while protecting your hands from staining.
Hands, Feet and Face
For a seamless finish on smaller areas, use the Ohh My Glo Blending Brush. Lightly blend leftover product over hands, feet, wrists, ankles, and face for a soft, natural-looking result.
This step is key to avoiding harsh lines and overdeveloped areas.
Hard-to-Reach Areas
Use the Back Applicator to apply tan evenly across your back. No twisting, no missed patches, and no awkward help required.
Step 4: Let Your Tan Dry and Set
Once applied, allow your tan to sit for a few minutes before getting dressed.
Then mist the Ohh My Glo Self-Tan Setting Spray over your entire body. This instantly takes your tan from sticky to matte dry, helps reduce transfer onto clothes and sheets, and locks everything in place.
This step is a game changer and one of the biggest secrets to a comfortable, mess-free tan.
Step 5: Let It Develop
Leave your tan on for the recommended time based on your chosen shade.
When it is time to rinse, use lukewarm water only. Avoid soaps, scrubs, or exfoliants during the first rinse. Pat your skin dry and allow the colour to continue developing naturally.
Your tan will deepen over the next 24 hours.
Pro Tips for the Best Results
• Always apply tan to completely dry skin
• Use less product on dry areas like elbows, knees, hands, and feet
• Avoid tight clothing while developing
• Moisturise daily after your first rinse to extend the life of your tan
The Bottom Line
Applying self tan does not need to be stressful or complicated.
With the right prep, the right tools, and the Ohh My Glo routine, flawless, streak-free results are easy to achieve at home.
Because when your tan is done right, everything else is easy.
Ready to apply like a pro?
Shop Ohh My Glo Self Tan and tools and start glowing.