
Ohh My Glo was created to solve the real problems of self tan.
Sticky skin, streaky application, patchy fades and orange tones are officially cancelled.
Start with the simple 4-step routine below for flawless, long lasting results every time.
Your Perfect Tan Routine
Your glo, simplified. Prep it right and the rest is easy.
-
1

Prep
Create a smooth base using the Ohh My Glo tan eraser/ skim primer and exfoliating glove so your tan applies easily, lasts and fades evenly.
How to prep → -
2

Apply
For a flawless glo from head to toe apply your Ohh My Glo self tan mousse with the Ohh My Glo accessories.
How to apply your tan → -
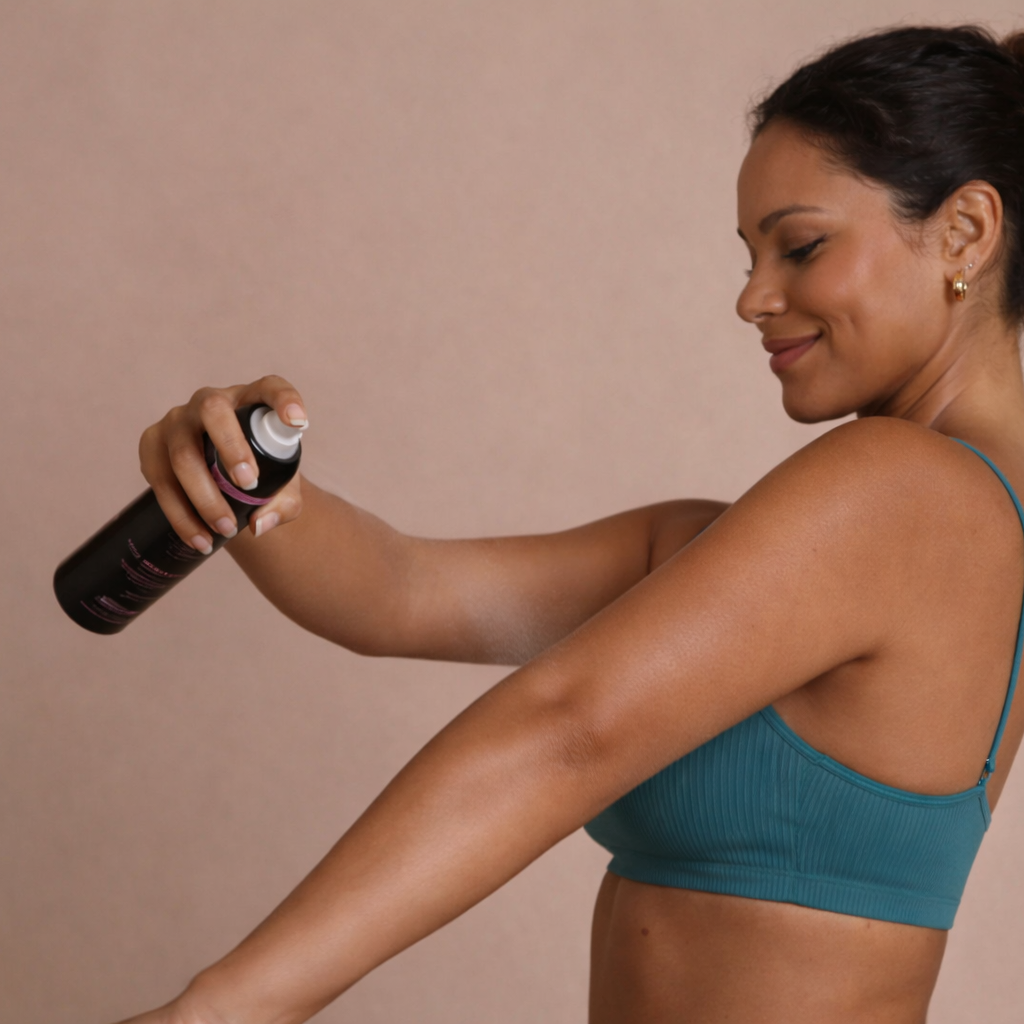
3

Set
Spray the Ohh My Glo Setting Spray over your tan to instantly take it from sticky to matte dry and reduce transfer.
How to use the setting spray → -
4

Develop
Let your tan work its magic. Rinse at your recommended time using lukewarm water only Avoid soap and moisturiser for 24 hours.
When to rinse off your tan? →

Before Your Tan
Prep like a pro
Great tans start before you even open the bottle.
- Exfoliate 24 hours before tanning to remove dry skin and old tan
- Focus on ankles, knees, elbows and wrists
- Shave or wax at least 24 hours prior so pores have time to close
- Moisturise daily in the lead up, but not on tan day
- Avoid deodorant, makeup, perfume and body products before tanning
- Have your nails done beforehand if needed
- Dry skin causes patchy fade and short wear time, so hydration is key
Why prep matters: smooth, hydrated skin helps your self tan apply evenly, last longer and fade naturally instead of breaking up in dry patches.

How To Apply Your Tan
APPLY LIKE A PRO
Flawless tans are built during application, not after.
- Apply ohh my glo self tan to clean, dry skin
- Use the tanning mitt for smooth, streak-free body application
- Use circular motions and work in sections starting with your legs
- For face, hands, fingers, feet and toes use the ohh my glo blending brush.
- For a flawless tan on your back use the ohh my glo back applicator
- Apply lightly over dry areas like elbows, knees and ankles
Pro tip: Start with one light layer and build if you want a deeper glow. This keeps your tan looking natural and helps it fade more evenly.
Set Your Tan
LOCK IT IN LIKE A PRO
This is where you can marinate in comfort!
- Mist the ohh my glo setting spray over freshly applied tan
- Your tan will go from sticky and wet to matte dry in seconds.
- This will enable you to get dressed straight away. It also helps reduce transfer onto clothes, sheets and surfaces while helping your tan last longer.
Pro Tip: The more layers of tan you apply, the more setting spray you will need to take your tan from sticky to matte dry.

Aftercare: Make Your Tan Last Longer
MAINTAIN YOUR GLO
Great tans are maintained, not just applied.
- Shower in lukewarm water only for your first rinse
- Avoid soaps on your first rinse if possible
Pat skin dry, do not rub - Moisturise daily after your first rinse
Avoid long hot baths and chlorine where possible - Reapply moisturiser morning and night for longest wear
Why aftercare matters: Hydrated skin holds colour better. When skin dries out, tan fades faster and can go patchy.
Tan Problems & How to Fix Them
Because perfect tans don't happen by accident.
My tan grabbed on elbows, knees or ankles
That is dry-skin cling. Moisturise only those spots before tanning (just a tiny amount), then apply leftover tan from your mitt over them. For your next tan, exfoliate properly the day before so you start smooth.
I got dark dots after tanning (pores, strawberry legs, underarms)
This usually happens when you tan too soon after shaving or on warm skin. Shave or wax 24 hours before, then wait 20 to 30 minutes after showering so skin is cool and fully dry.
My hands and feet went too dark
Hands and feet should never get fresh product. Do your body first, then use what is left on your mitt or brush to blend over hands and feet. Less product, more blending.
My tan looks streaky
Streaks usually come from uneven pressure or not spreading product far enough. Use long sweeping strokes, work in sections and do not rush blending. A kabuki brush is your best friend for edges.
My tan fades patchy
Patchy fade is usually prep or aftercare. Exfoliate and remove old tan before applying, then moisturise daily after. If it is already patchy, remove and reset instead of layering more tan on top.
It felt sticky and transferred onto clothes or sheets
This is exactly what a setting spray is for. Let your tan dry, then set it so it goes from sticky to matte dry and helps reduce transfer. Tight clothes right after tanning also make transfer worse, go loose.
I rinsed and it looks lighter than expected
Totally normal. The bronzer rinses off, then the tan keeps developing after your first rinse. Use lukewarm water and avoid heavy soap straight away so your colour can keep building.
Does fake tan replace SPF?
No. Self tan does not protect you from UV. Always wear SPF when you are in the sun, even when you are glowing.